Comprehensive Guide to Plastering a Pool
When it comes to maintaining a beautiful and functional swimming pool, one of the essential aspects is plastering a pool. This process not only enhances the aesthetics of your pool but also contributes significantly to its durability and longevity. In this detailed article, we will explore everything you need to know about pool plastering, from the materials used to the techniques involved and maintenance thereafter.
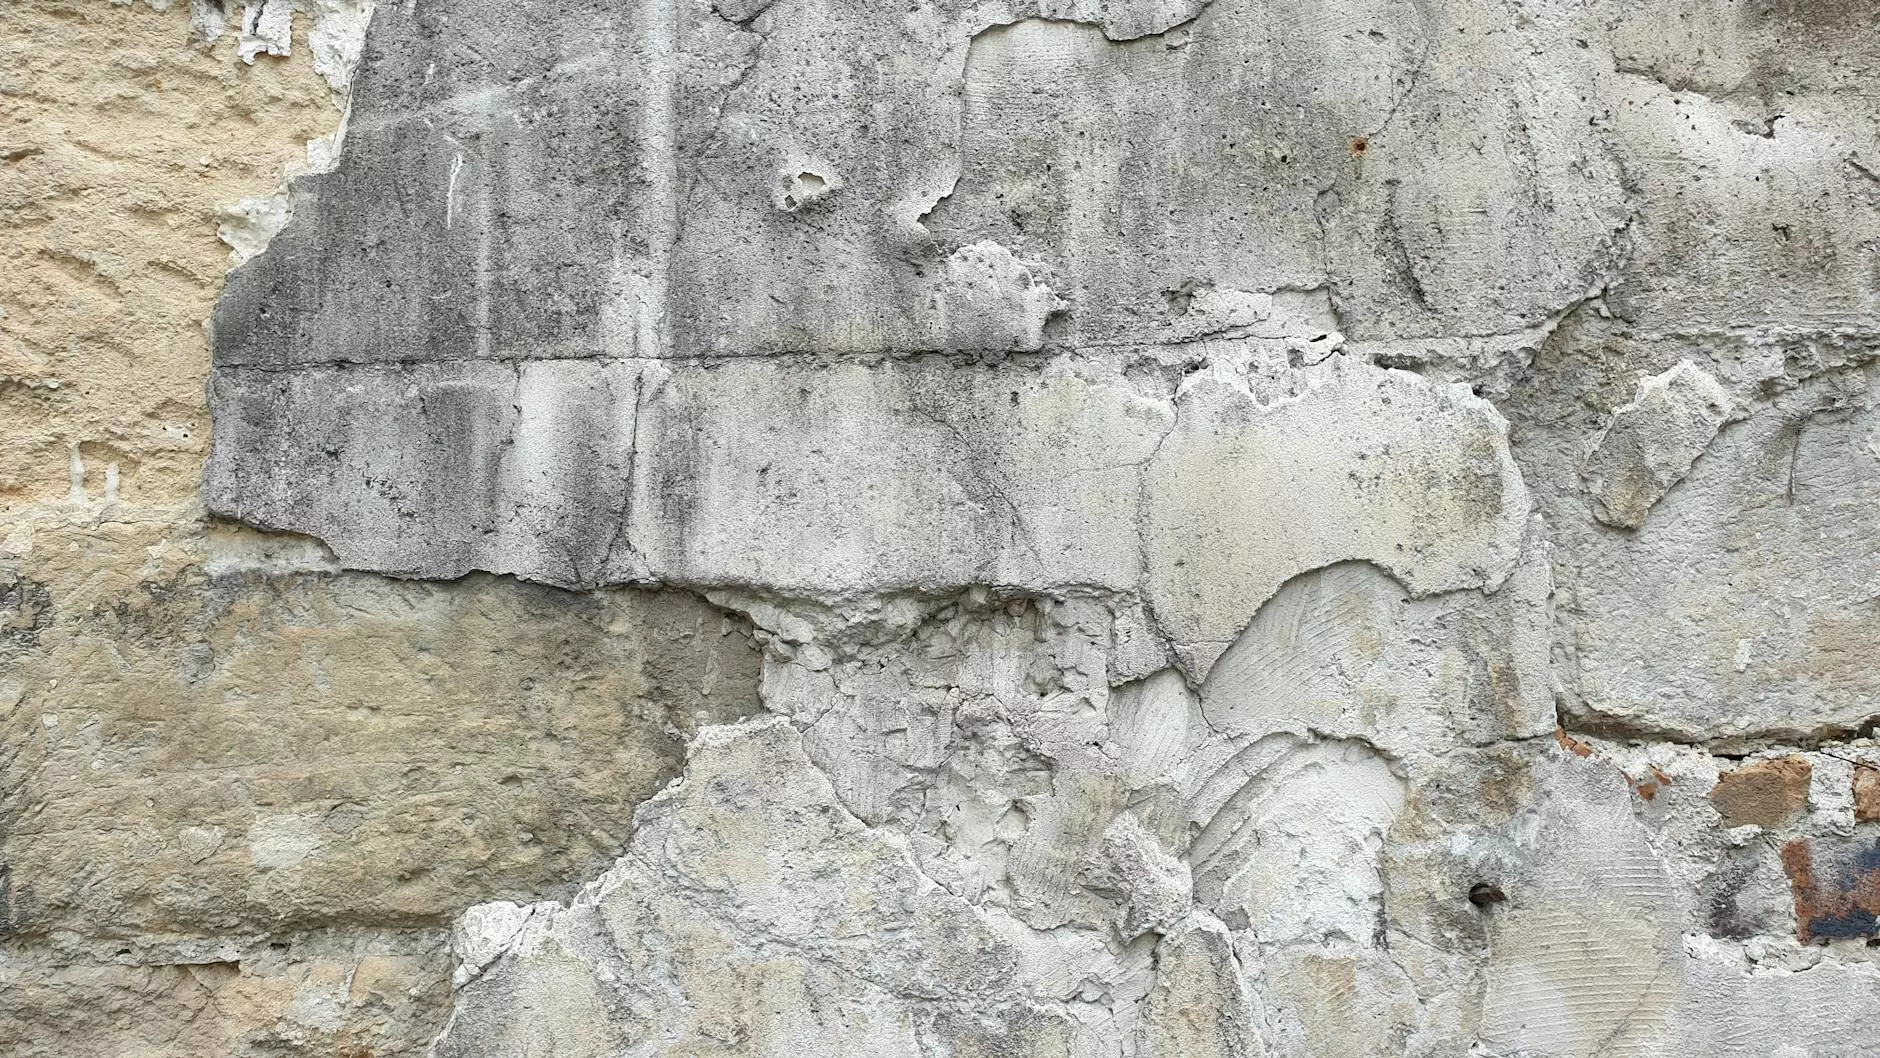
What is Pool Plastering?
Pool plastering is the process of applying a coat of plaster to the interior surface of a swimming pool. This serves multiple purposes:
- Enhancing the appearance of the pool
- Creating a smooth surface that is comfortable for swimmers
- Protecting the pool structure from water damage
- Tightening and sealing the surface to reduce water leakage
Types of Pool Plaster
There are several types of plaster materials that can be used for pools, each with its advantages and aesthetic qualities:
Traditional Plaster
Traditional pool plaster is typically a mixture of cement, sand, and water. It’s the most common type of plaster and provides a classic look.
Aggregate Plaster
Aggregate plaster includes small stones or glass beads and offers a more textured appearance. It is often more durable and can enhance the sparkle in the water.
Fiberglass Pool Finish
Fiberglass finishes provide a non-porous surface that is resistant to algae growth and easy to clean. This option tends to have a higher initial cost but can save money in maintenance.
Process of Plastering a Pool
The process of plastering a pool can be broken down into several critical steps:
1. Preparation
Before applying plaster, it’s vital to prepare the pool surface. This includes:
- Draining the pool
- Inspecting for any structural damage
- Cleaning the surface thoroughly to remove dirt and debris
- Fixing any cracks or imperfections in the concrete
2. Mixing the Plaster
Mixing the plaster according to the manufacturer’s instructions is crucial. A well-mixed plaster will ensure a smooth finish and proper adherence to the pool surface.
3. Application of Plaster
Once the preparation is complete and your plaster is mixed, it’s time to apply it. This process is completed in several steps:
- Start at the Deep End: Begin applying plaster at the deepest part of the pool and work your way to the shallow end.
- Use a Hawk: A hawk is a tool used to hold the plaster while applying it with a trowel.
- Apply Evenly: Spread the plaster evenly, ensuring consistent thickness to avoid weak spots.
- Texturing: Use a trowel to smooth out the plaster and create a desired texture.
4. Curing the Plaster
After application, curing is essential. This involves:
- Applying a fine mist of water to the plaster surface
- Covering the pool with wet tarps to maintain humidity
- Allowing adequate curing time, usually around 7 days, depending on the temperature and humidity
Benefits of Plastering Your Pool
Investing in plastering your pool comes with several benefits that go beyond aesthetics:
- Increased Longevity: A well-plastered pool resists water absorption, preventing potential damage over time.
- Improved Safety: A smooth surface makes swimming safer and more enjoyable for everyone.
- Enhanced Appearance: Choosing the right plaster can transform your pool into a stunning centerpiece in your backyard.
- Reduced Maintenance: Properly plastered pools are easier to clean and maintain, saving time and effort in the long run.
DIY vs. Professional Pool Plastering
While some homeowners may be tempted to undertake plastering a pool as a DIY project, it is essential to consider the pros and cons:
DIY Plastering
- Cost Savings: You can save on labor costs if you choose to do it yourself.
- Satisfaction: Completing the project yourself can be rewarding.
Professional Plastering
- Expertise: Professionals have experience and knowledge that can ensure a flawless finish.
- Time Efficient: Hiring professionals will typically complete the job much faster than doing it yourself.
- Quality Assurance: Skipping the guesswork leads to a better, long-lasting finish.
Maintenance After Plastering
After plastering your pool, proper maintenance is crucial to ensure durability and appearance:
1. Water Chemistry
Maintaining balanced water chemistry protects the plaster from etching or discoloration. Regularly check pH, alkalinity, and calcium hardness levels.
2. Regular Cleaning
Clean the pool regularly to prevent buildup of dirt and debris, which can scratch the surface and lead to damage over time.
3. Routine Inspections
Inspect the pool for any cracks or wear regularly. Early detection of issues can prevent more extensive damage.
Choosing the Right Pool Plastering Company
If you decide to hire professionals for plastering your pool, careful selection of a company is essential. Here are some tips:
- Look for Experience: Choose a company with a proven track record in pool plastering.
- Read Reviews: Check online reviews and testimonials from previous clients.
- Ask for Quotes: Get detailed quotes from several companies to compare costs and services.
- Verify Credentials: Ensure the company is licensed, insured, and follows local regulations.
Conclusion
Plastering a pool is a critical aspect of pool maintenance that enhances not only the look of your swimming pool but also its functionality and longevity. By understanding the processes, materials, and maintenance involved, you can make informed decisions whether you opt for a DIY approach or hire professionals. A well-maintained pool brings joy, relaxation, and beauty to your home, making the effort and investment worthwhile.
For more expert tips and services on plastering pools, don’t hesitate to reach out to poolrenovation.com. Our team is here to help with all your swimming pool needs, including plastering, maintenance, and water heater installation/repair services.